Motion Design
Instagram Reel
Project Type
Motion Design
Midterm
Photography
Software Used
Adobe After Effects
Date
2020
Process
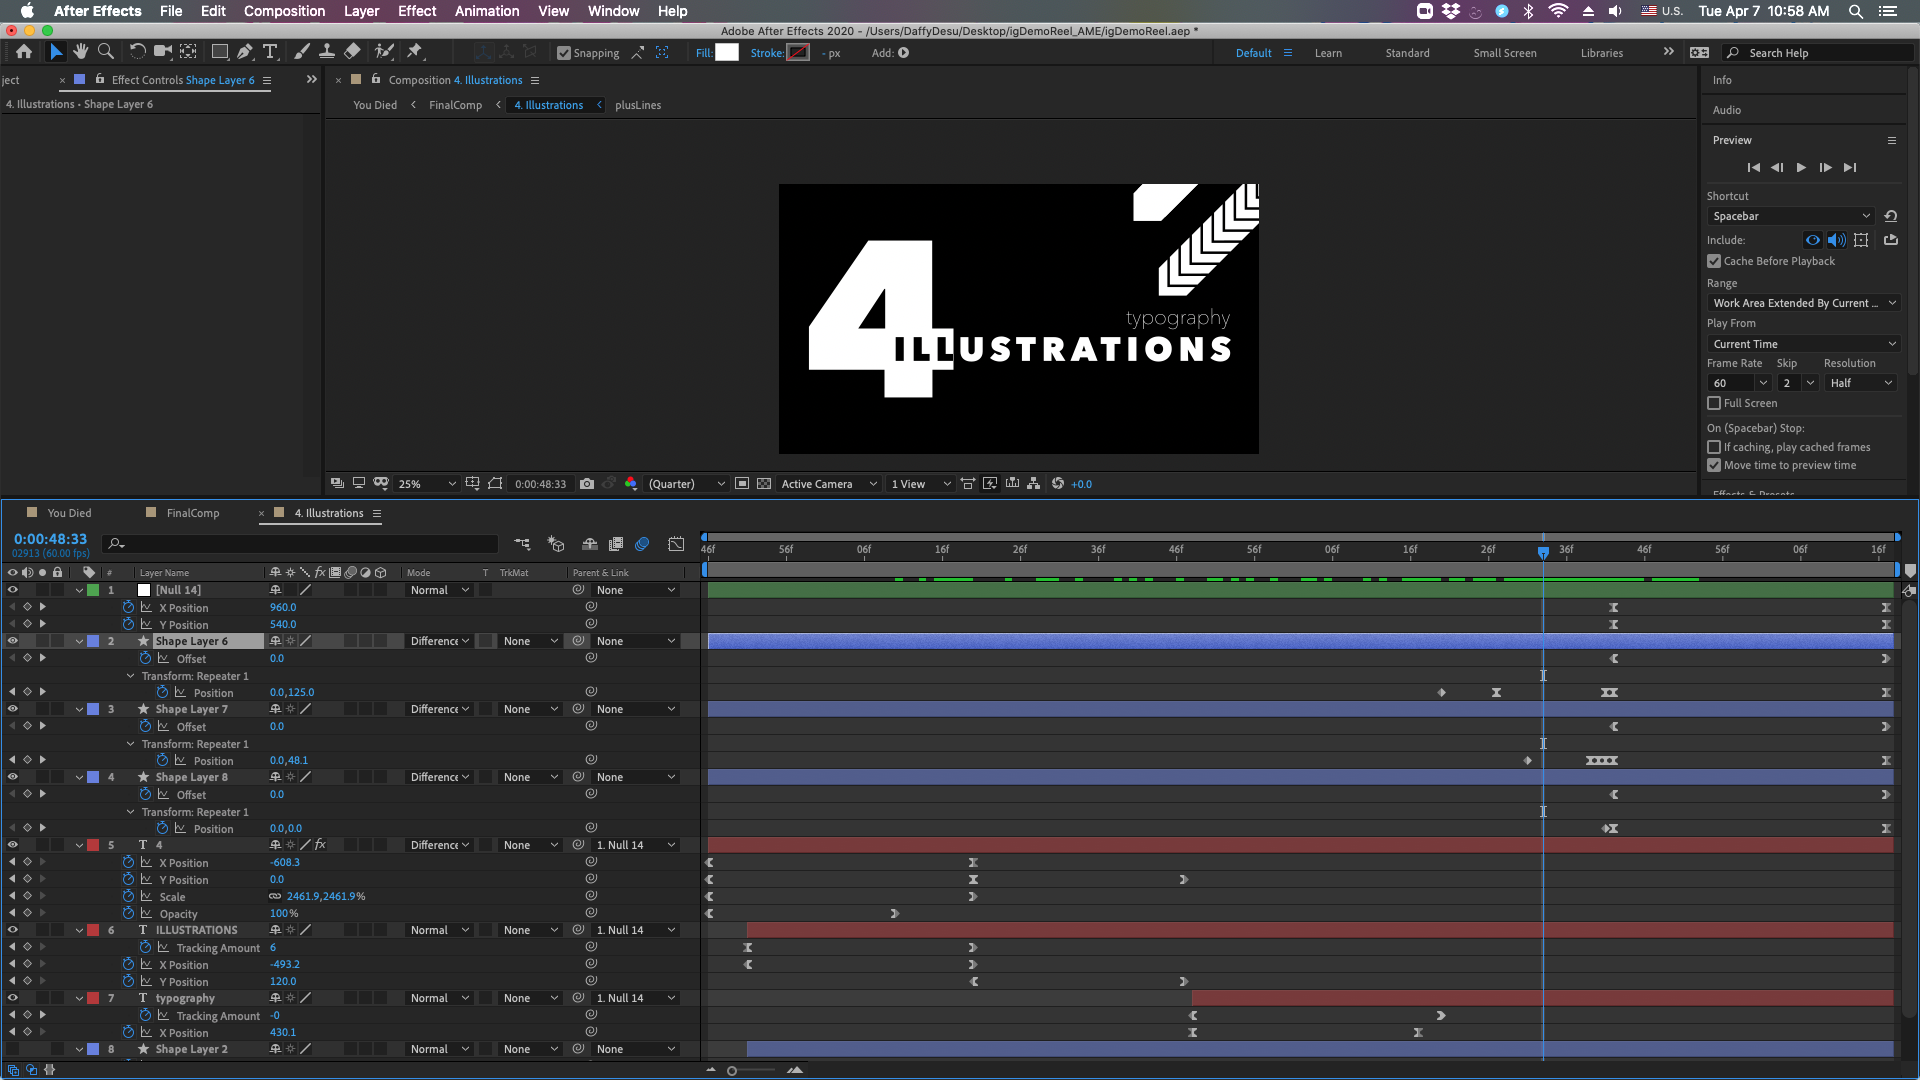
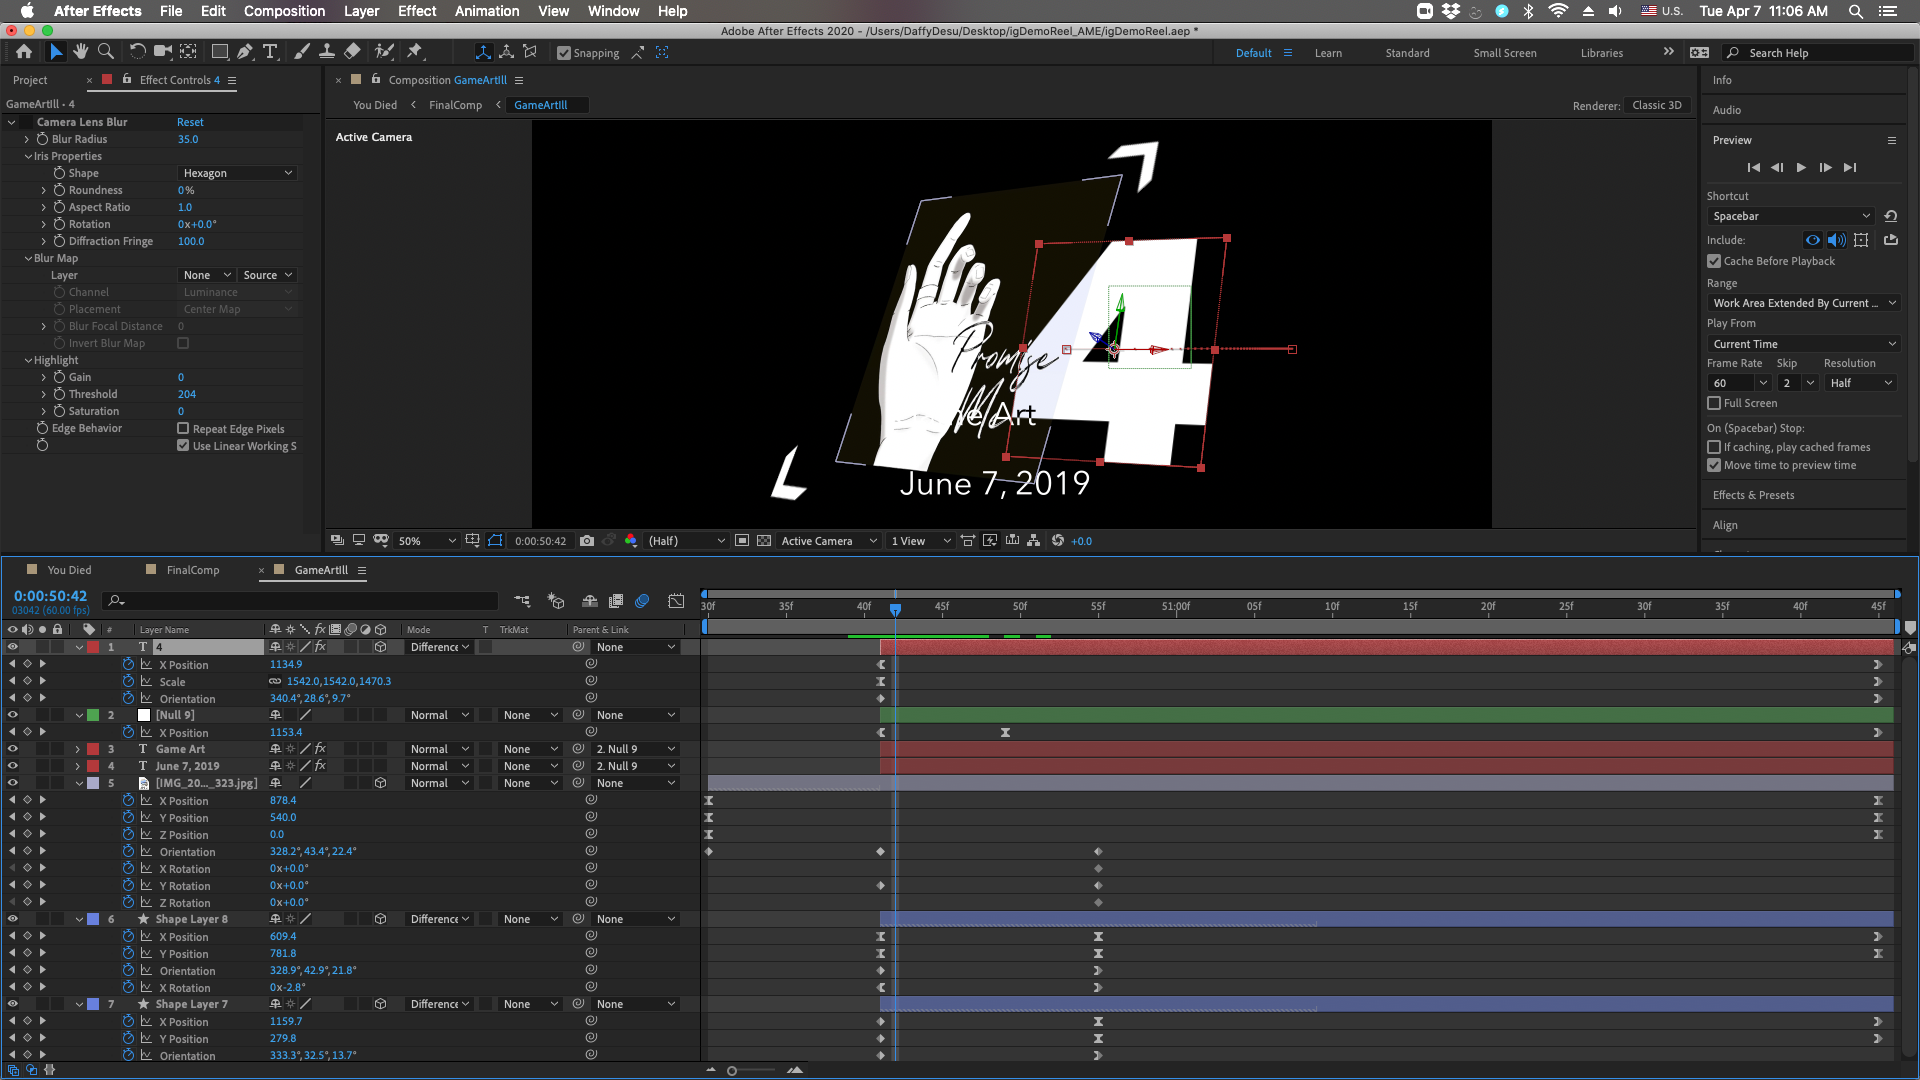
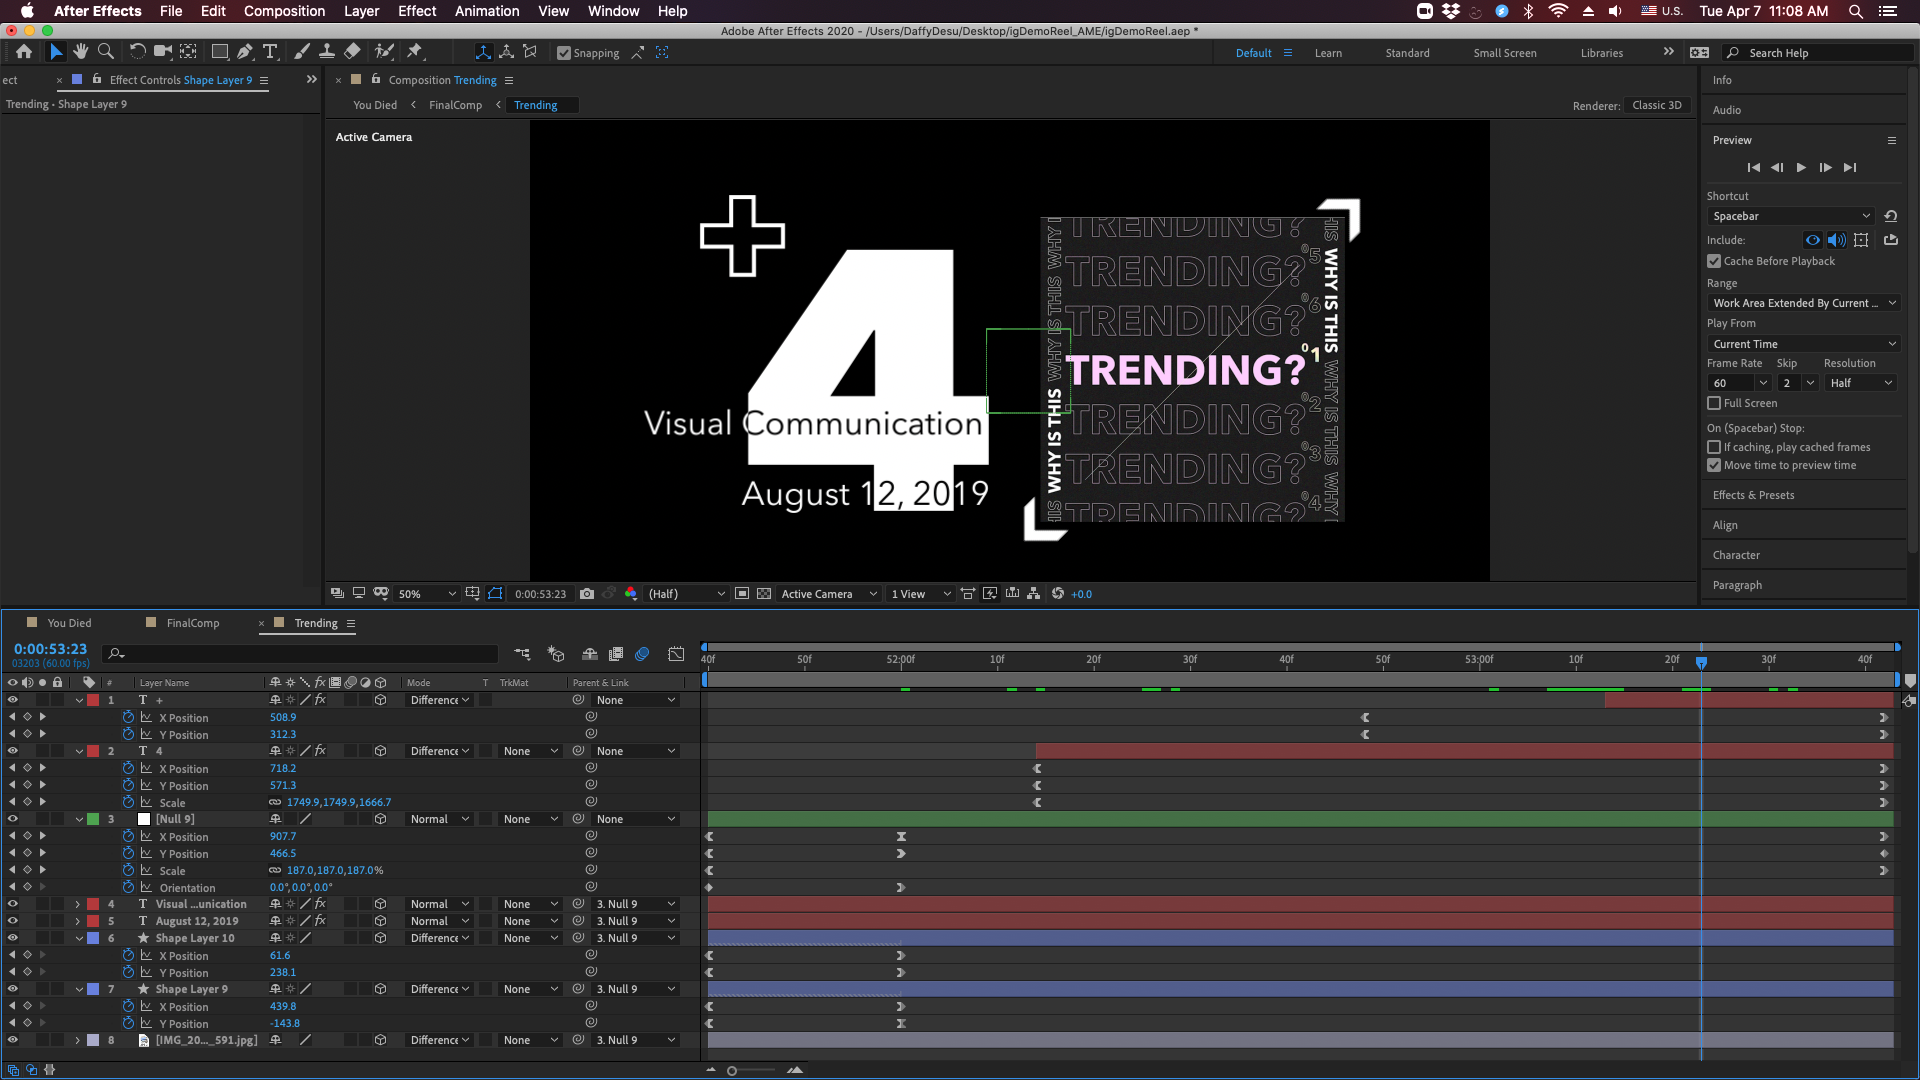
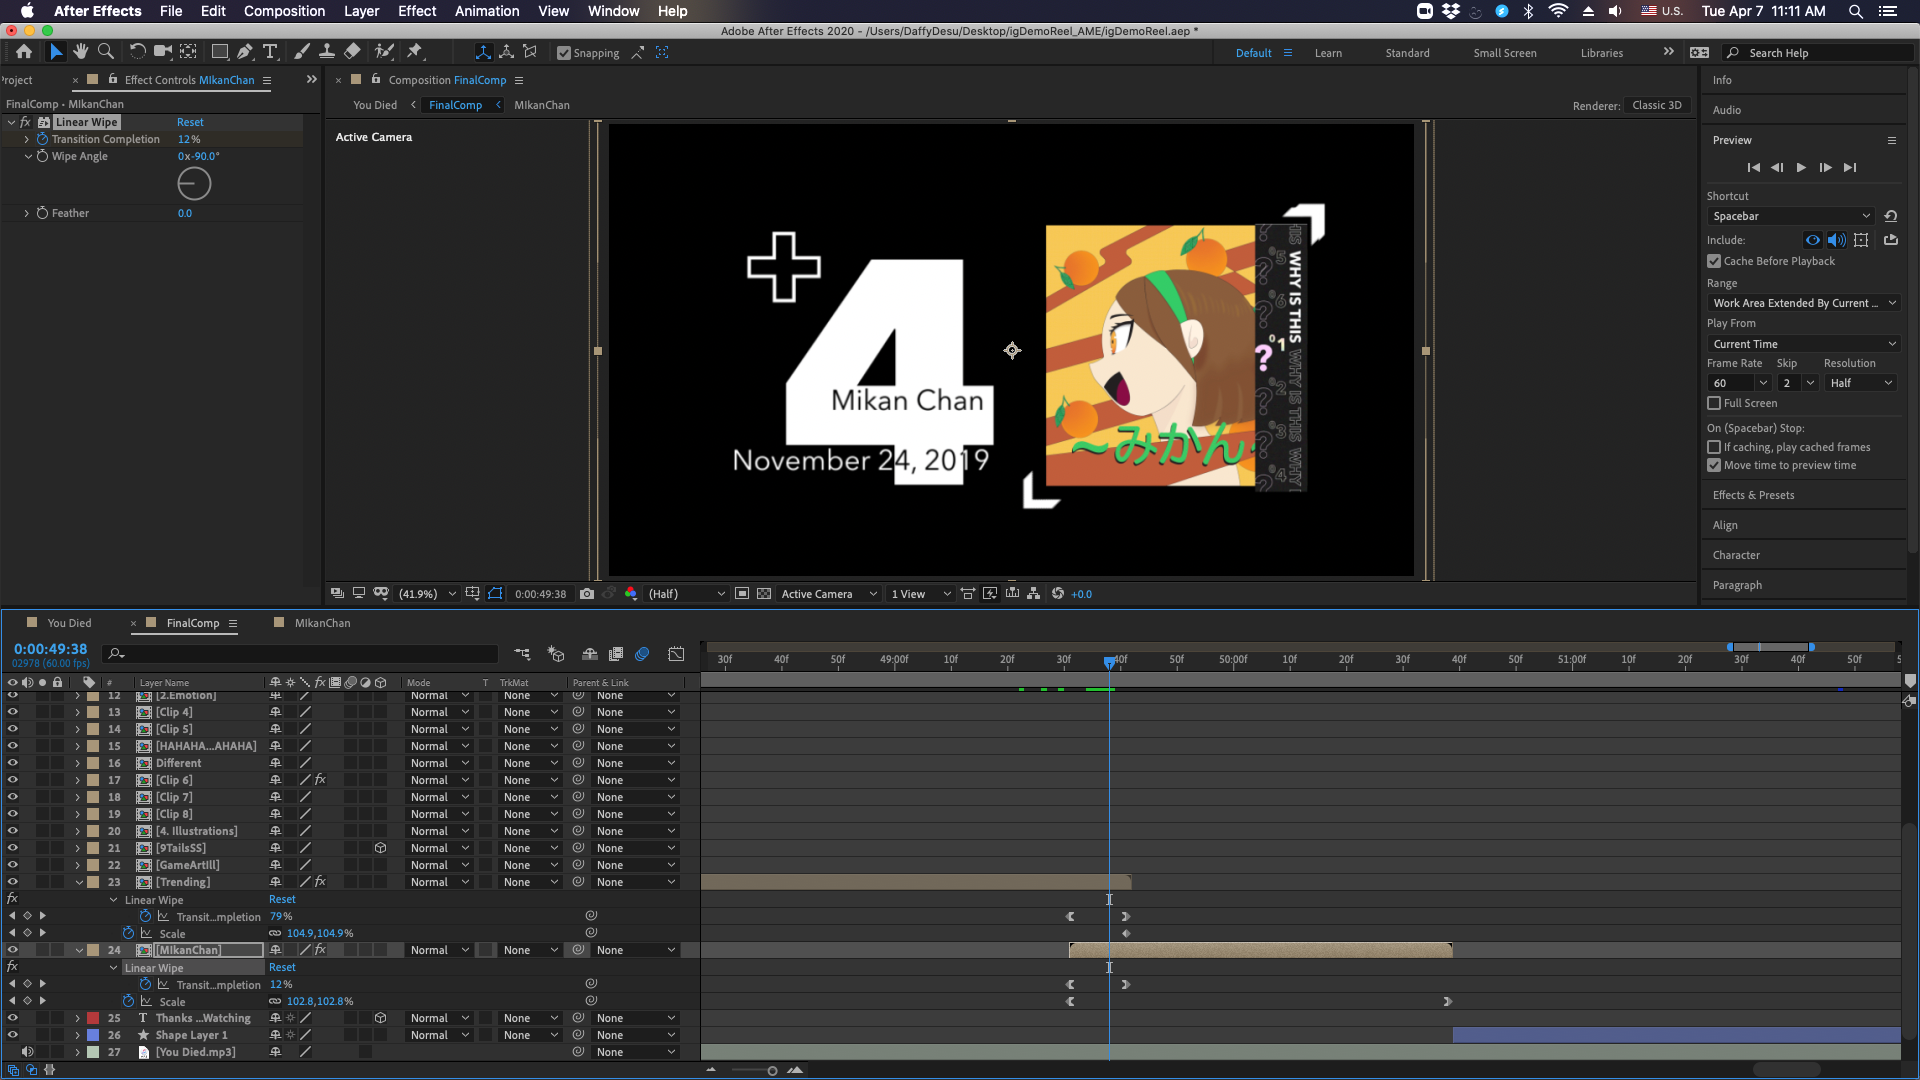
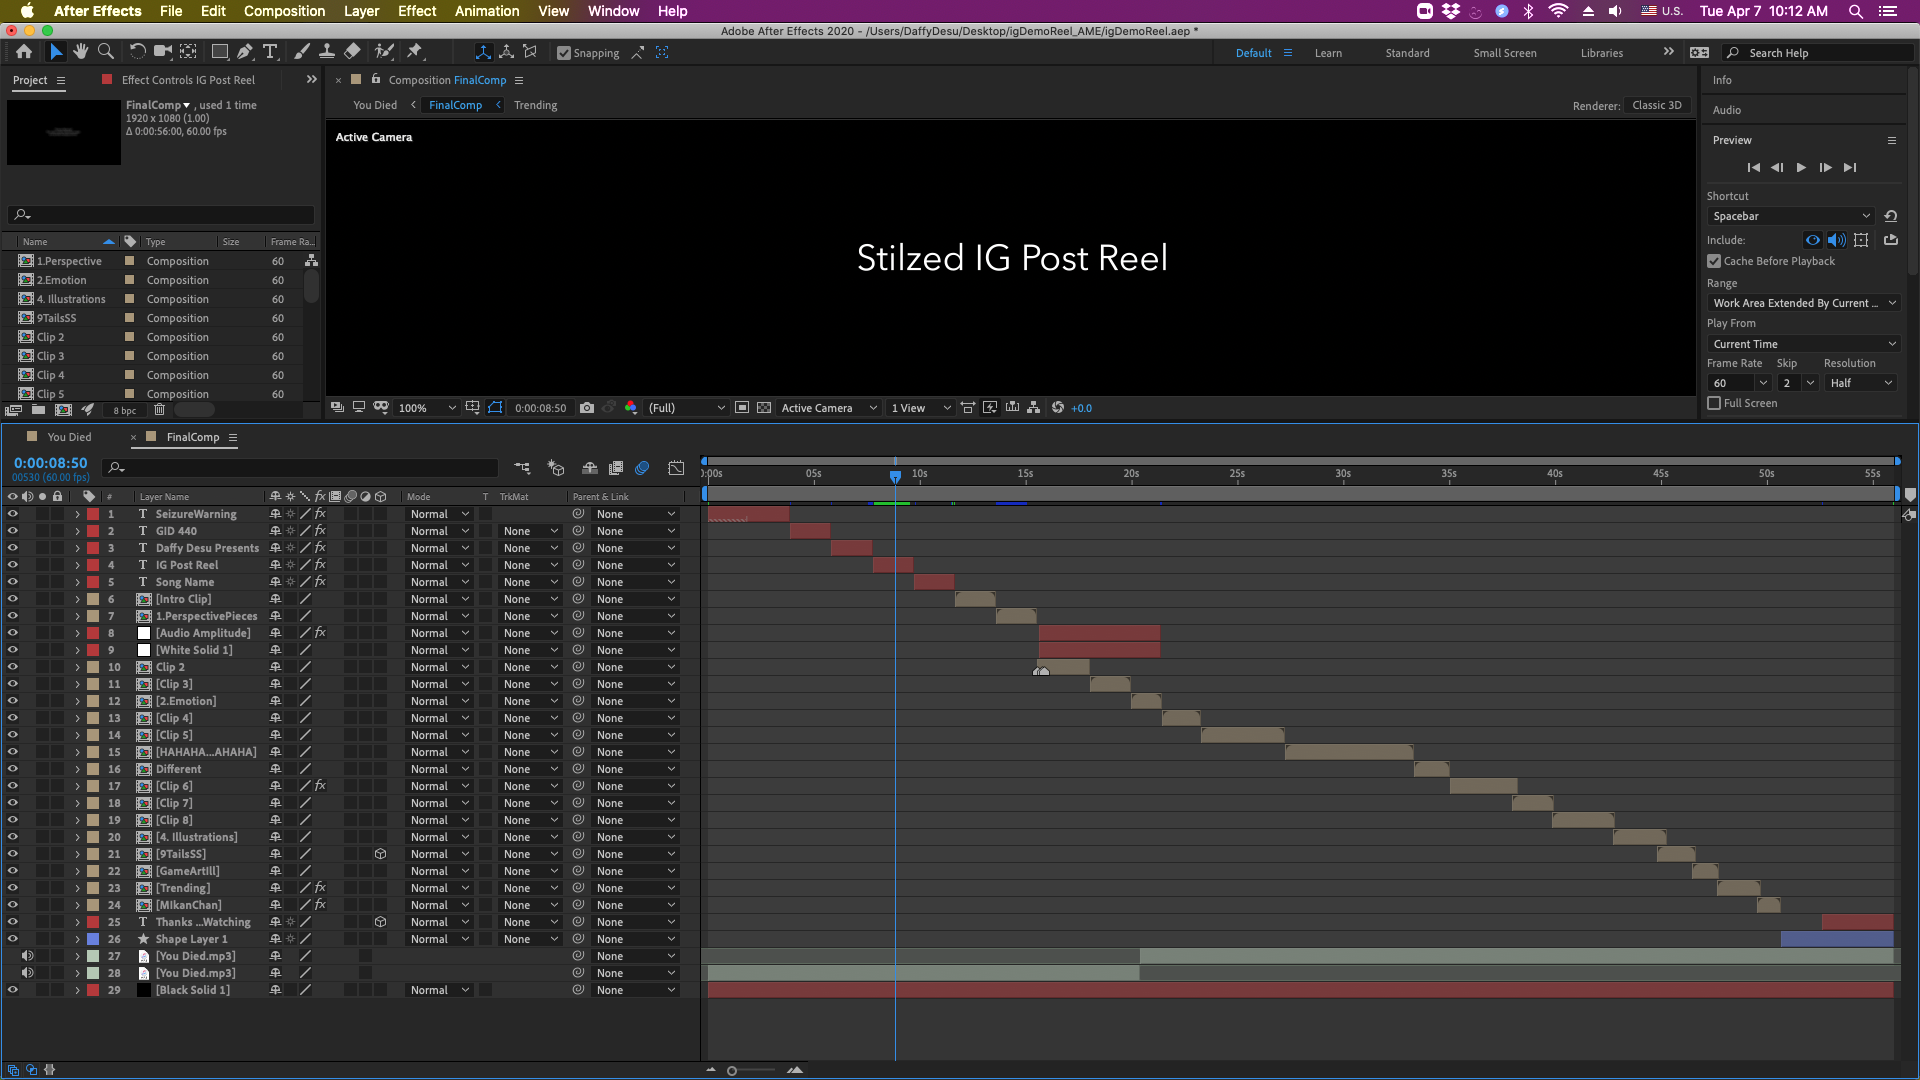
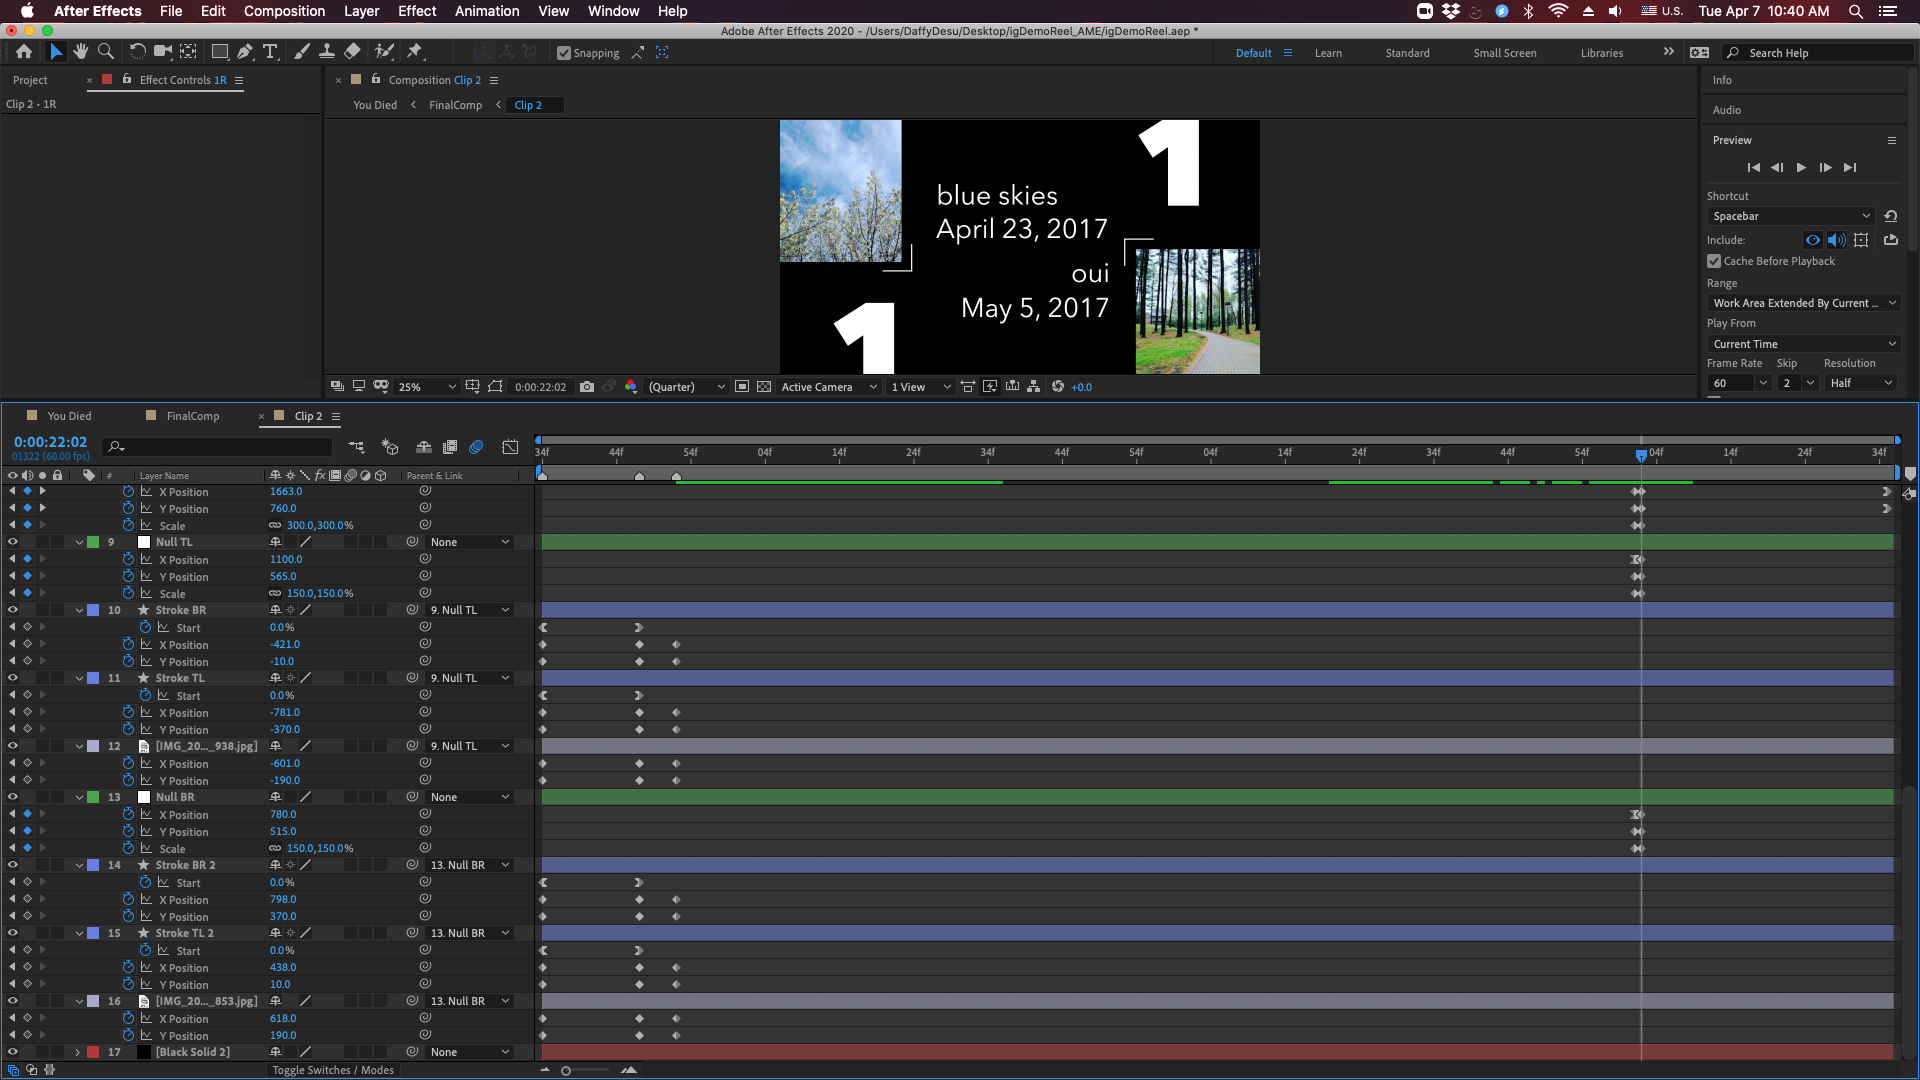
This video is a showcase of some of my Instagram photos. It features 15 images that I have taken a photo of or have illustrated. The numbers represent what type of image is showing. It uses a variety of effects that I will explain later. I tried to focus on pacing both the words and the photos, so that you could read and see the image in time. The video reflects many the videos that I have made in the past using clips and smooths from Call of Duty (a video game). It uses music and quick transitioning scenes with different effects to give variety and some "shock factor" to keep it interesting. I.e, the first half of the video is tame in its use of effects. The second half focuses mainly on transitioning and space. The photo to the left shows all the compositions / text that I worked with.


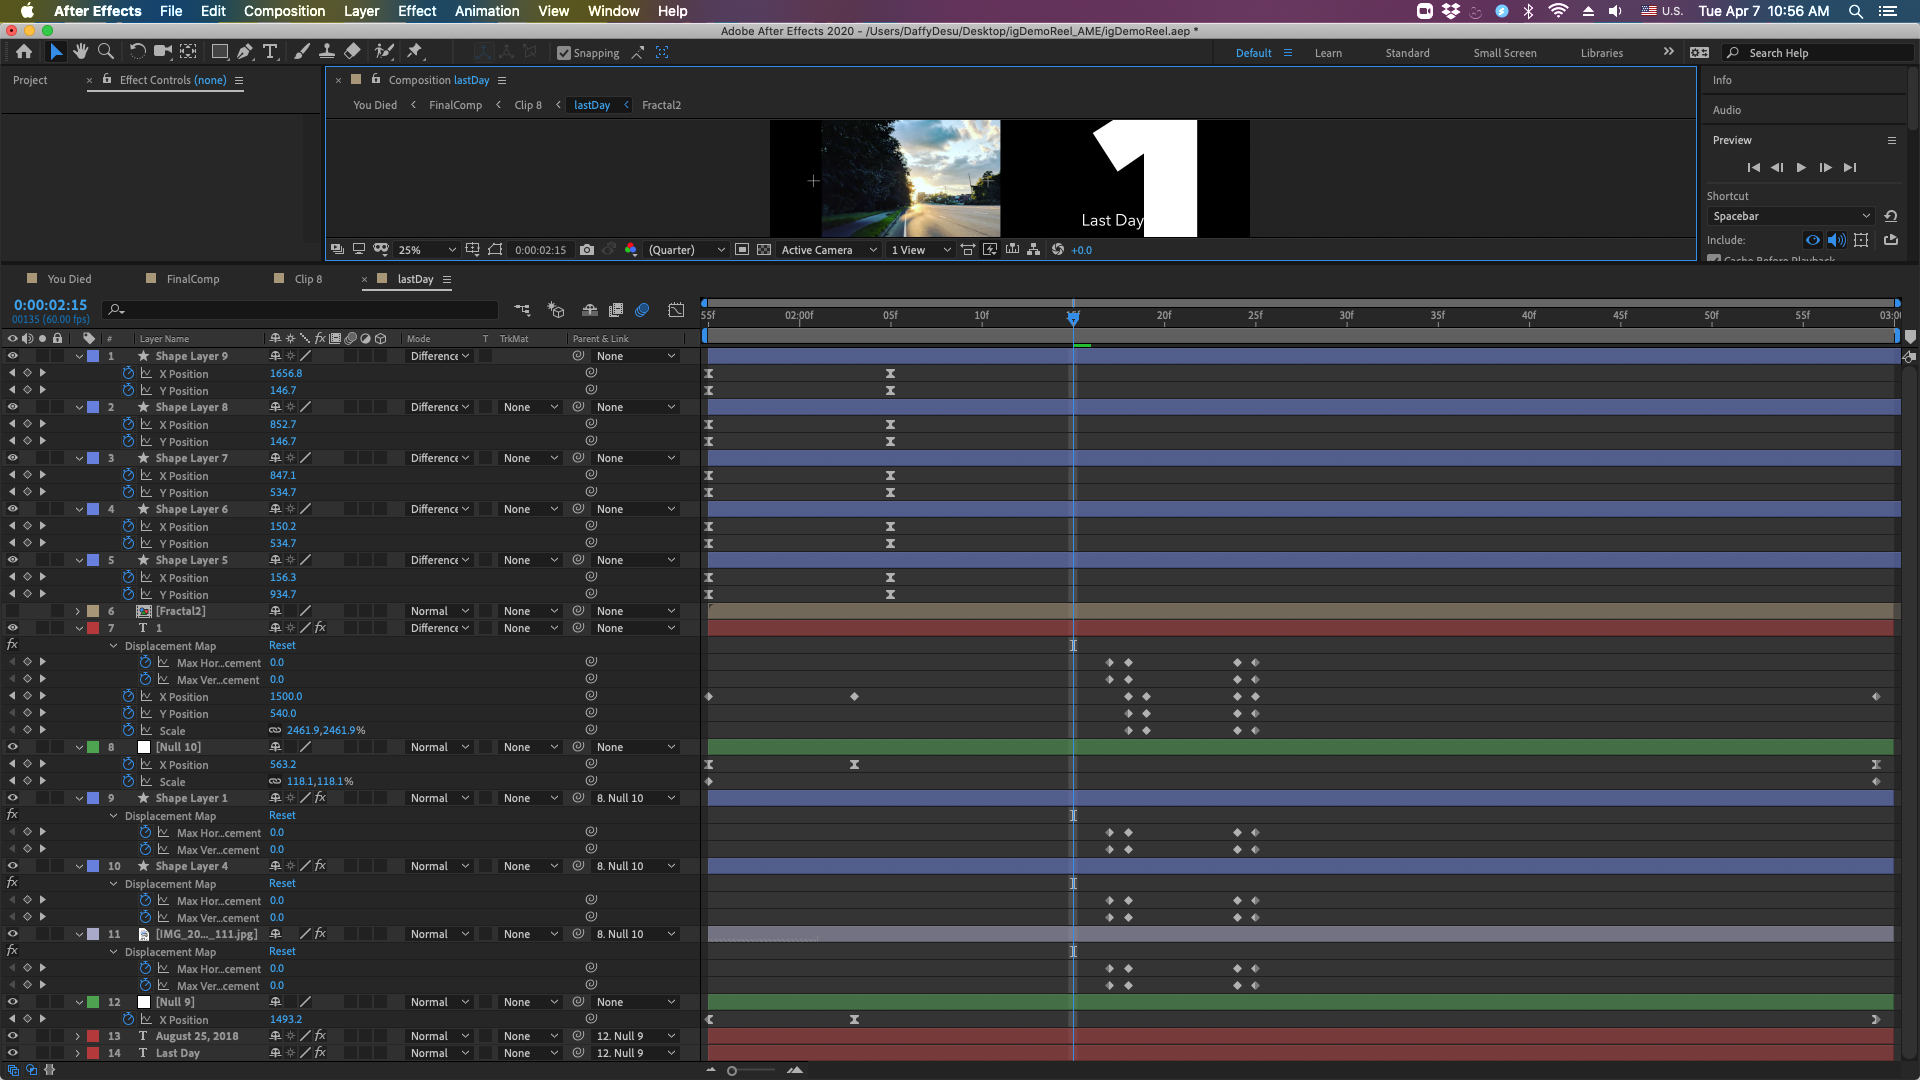
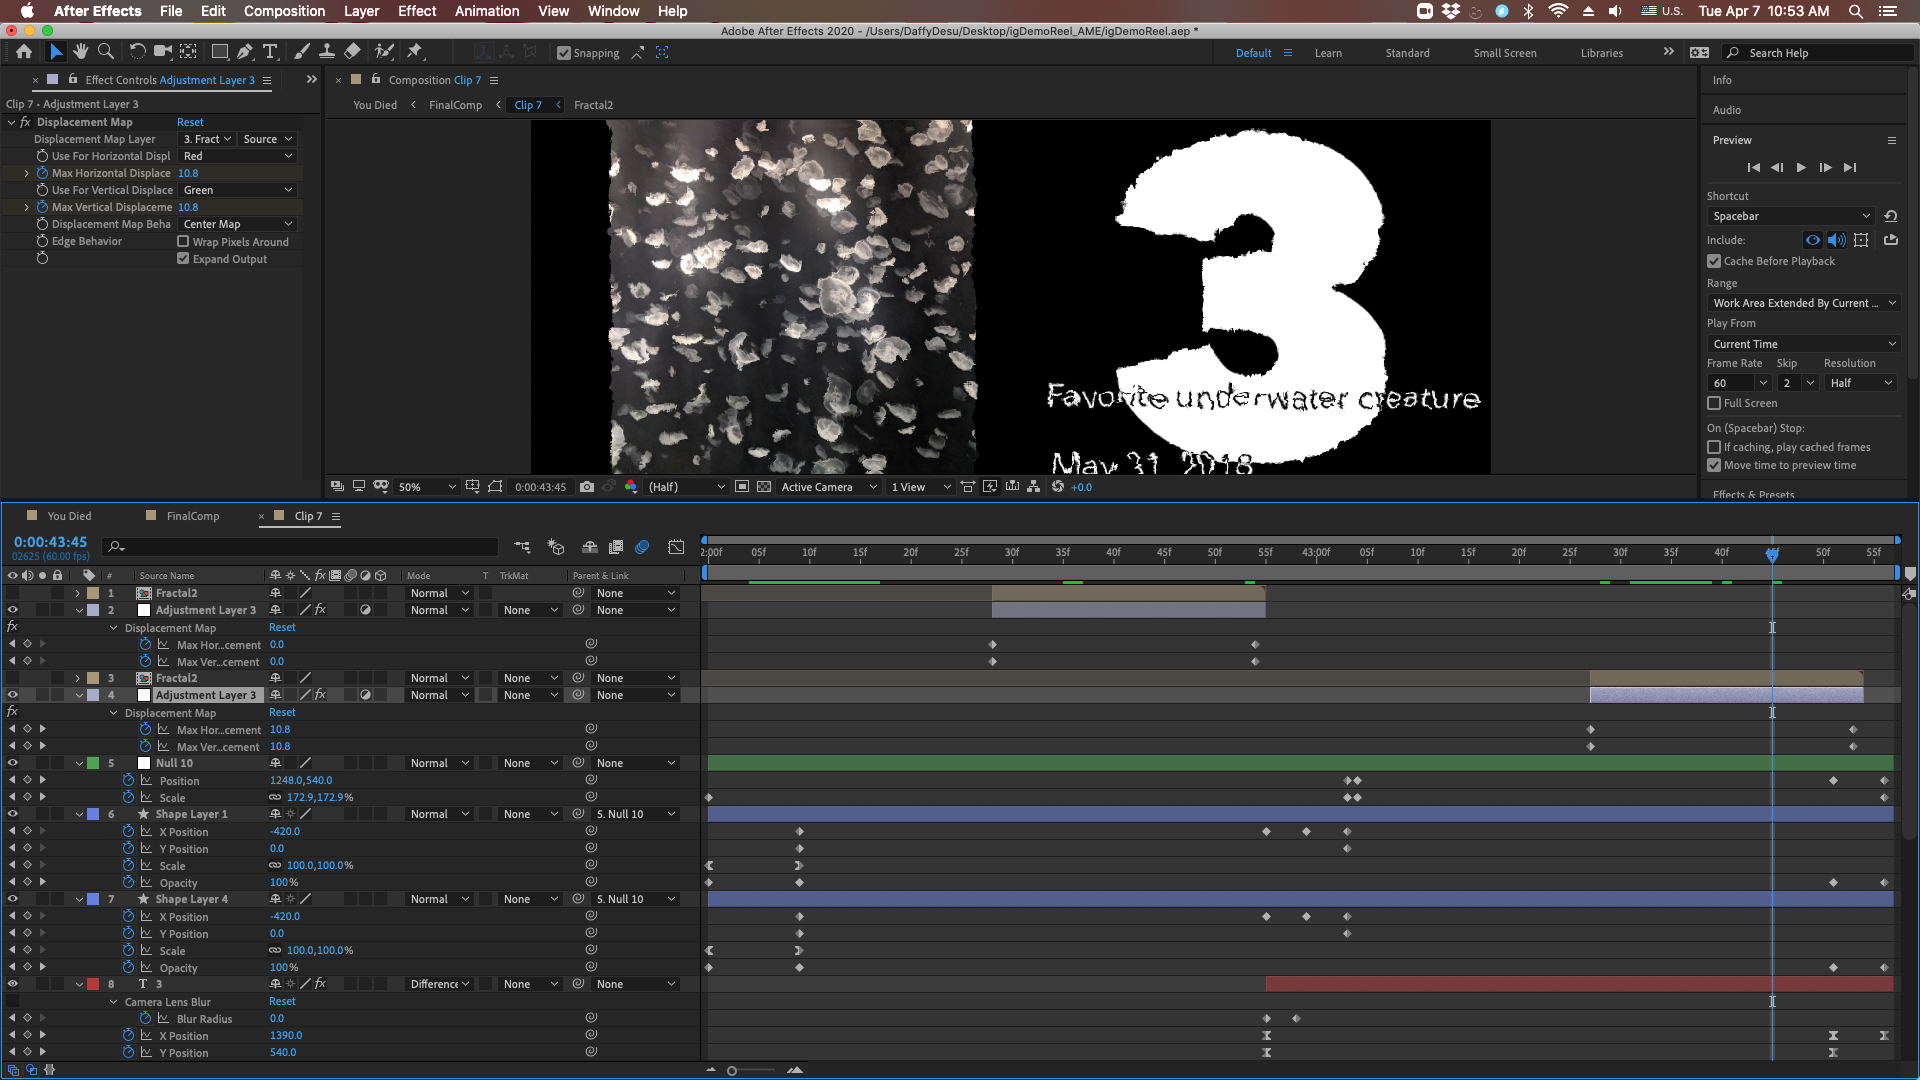
Displacement Mapping
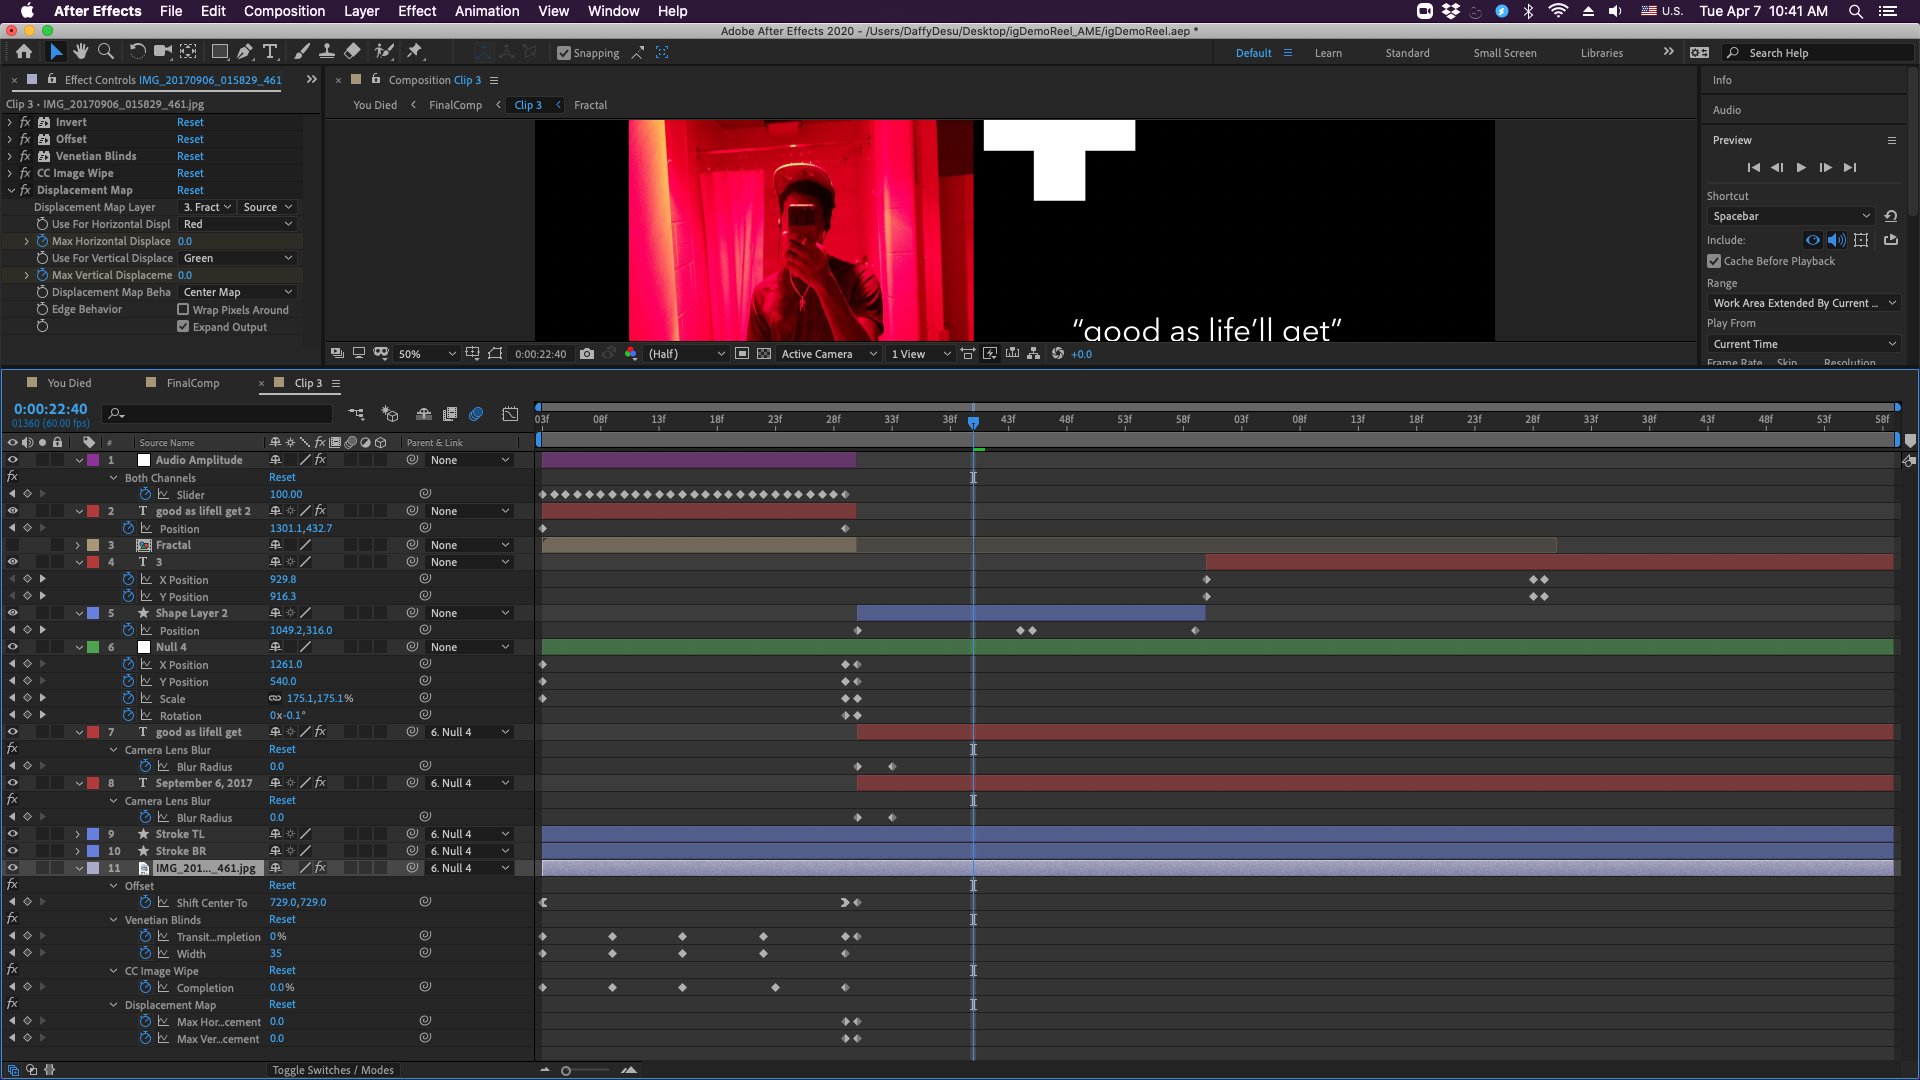
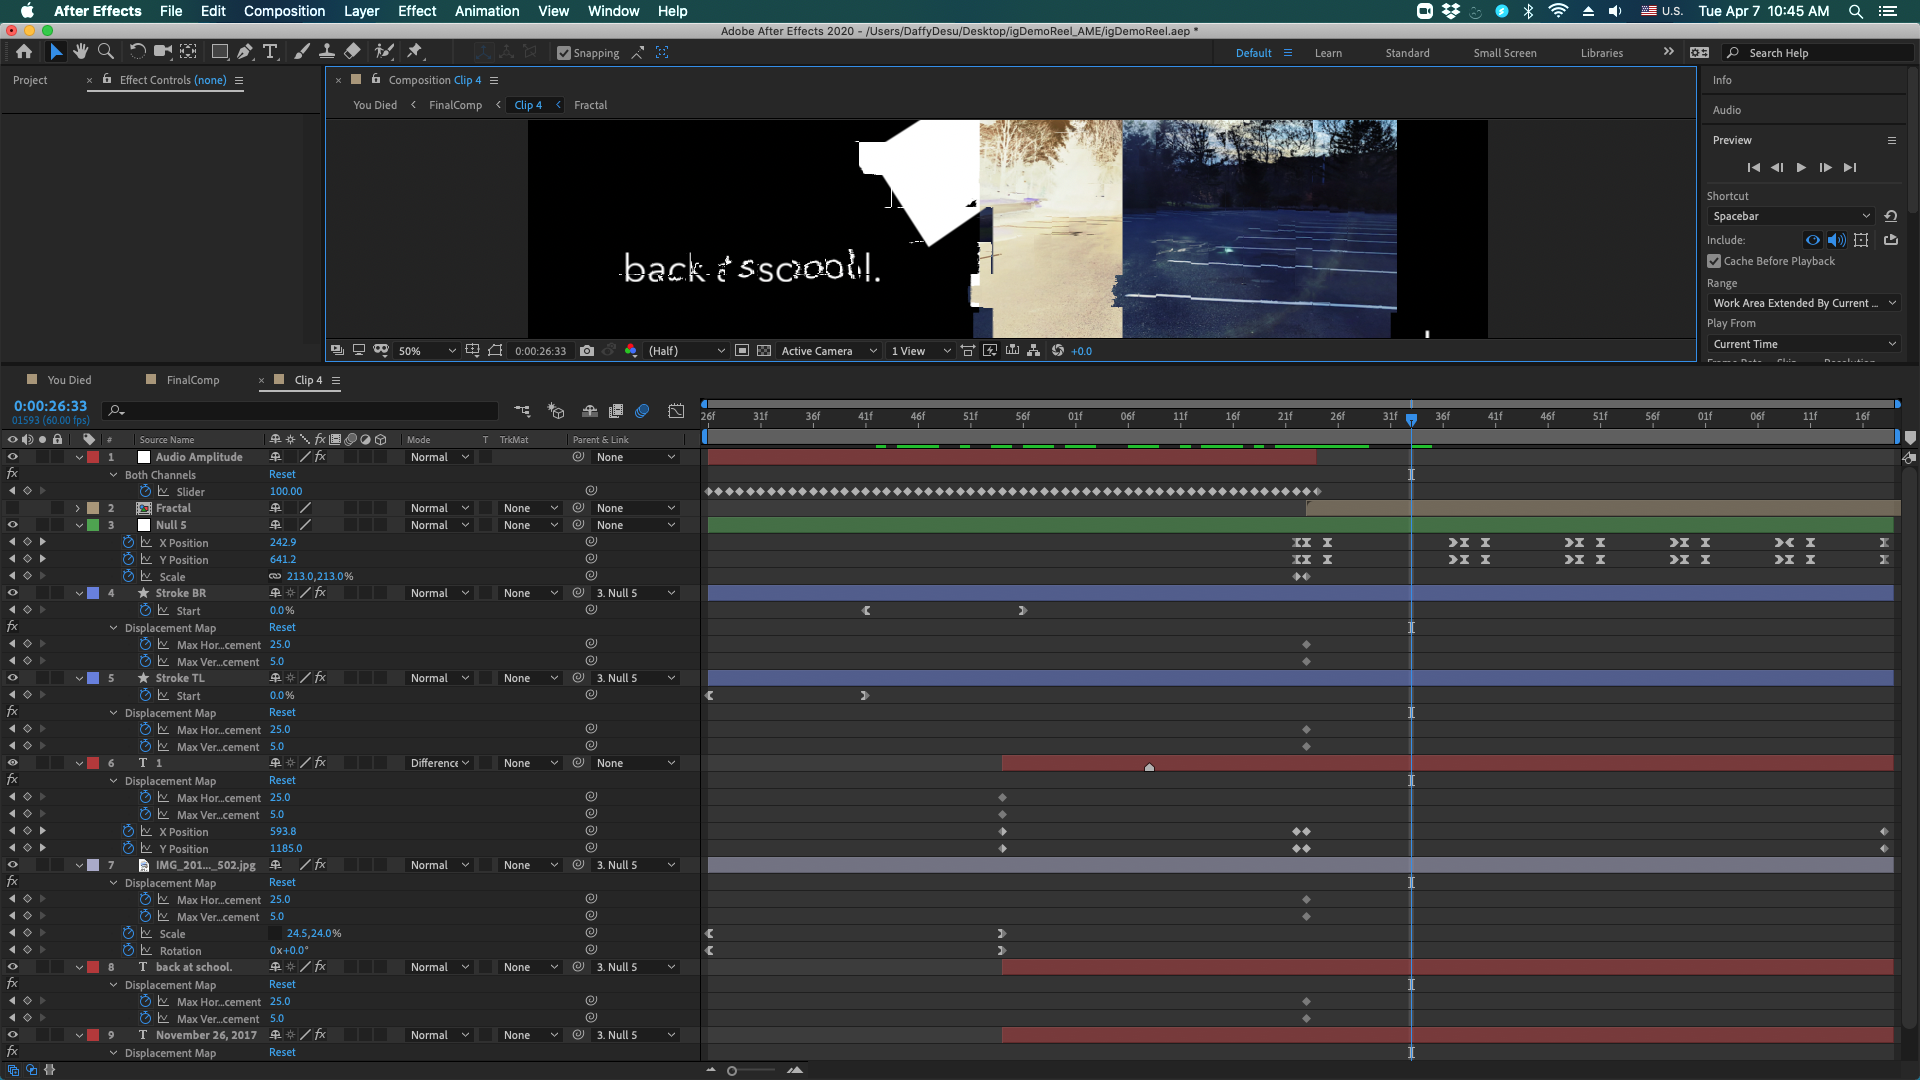
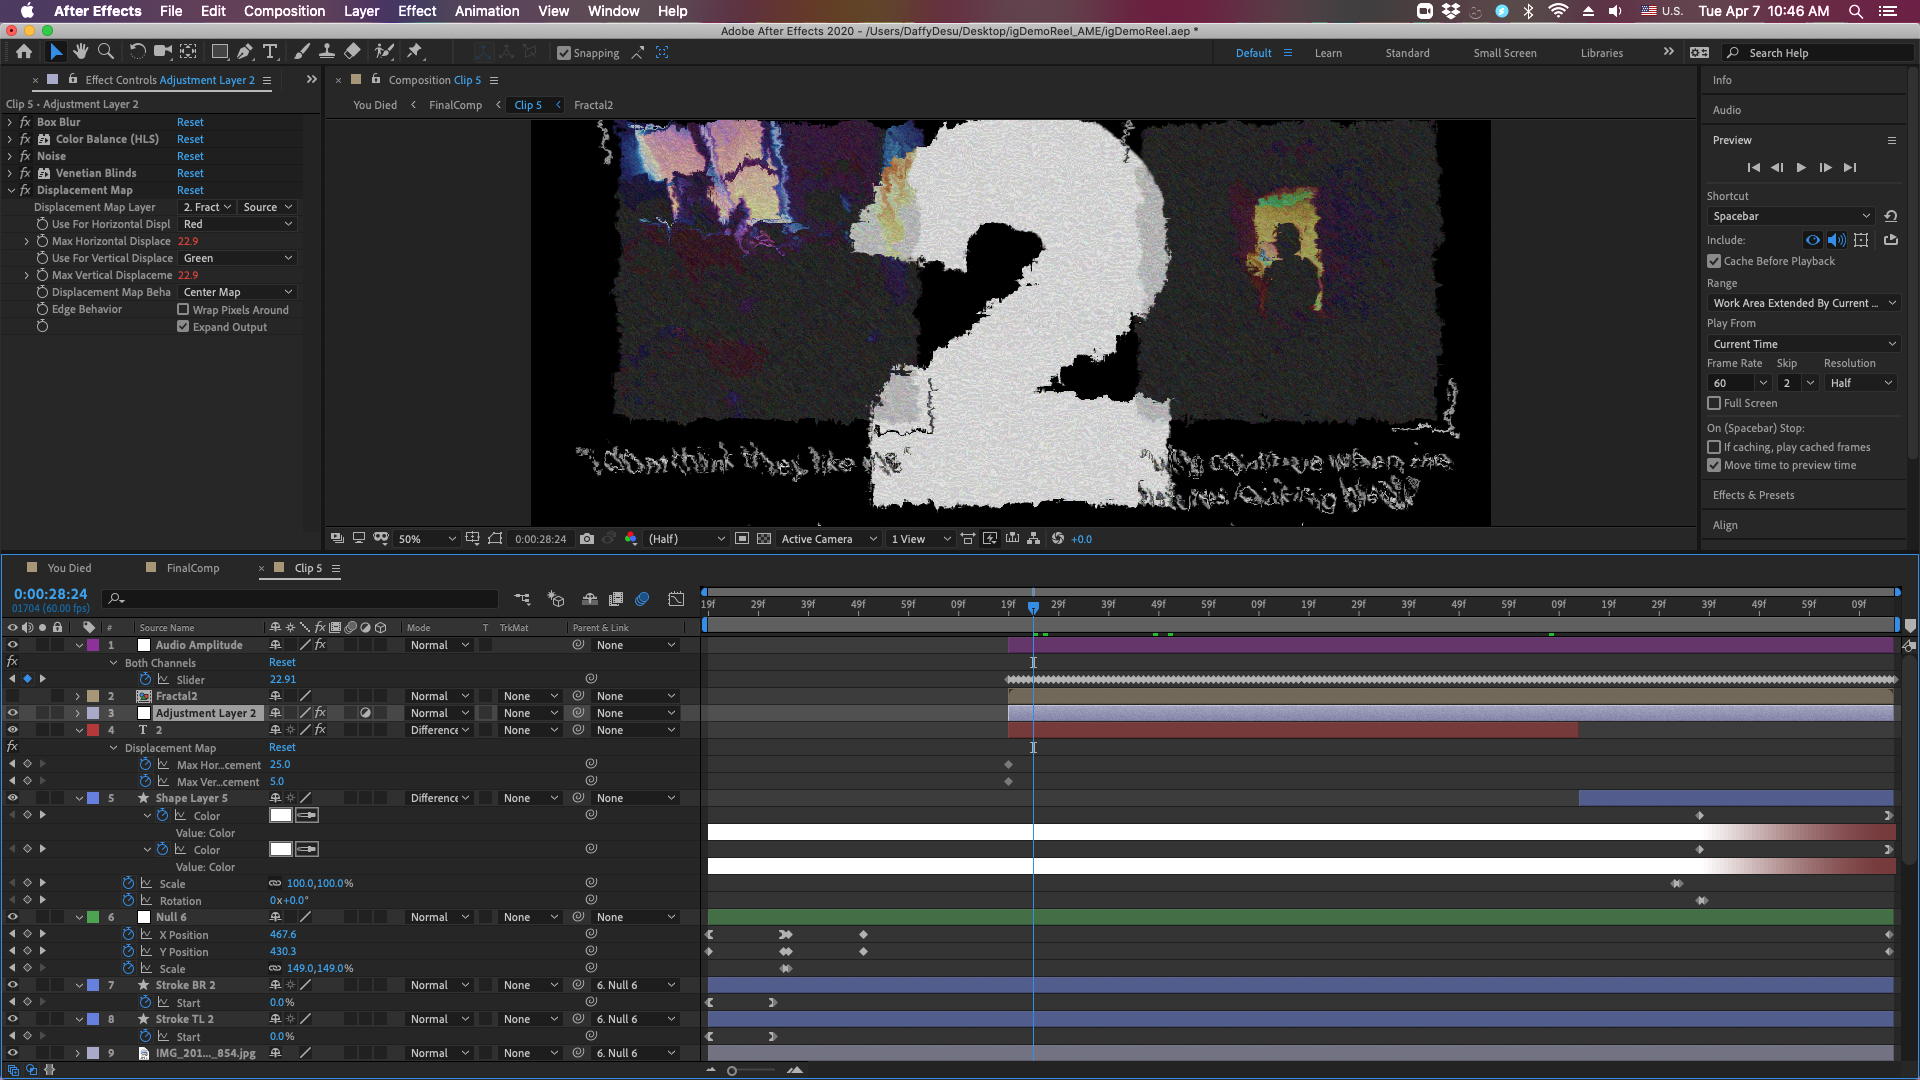
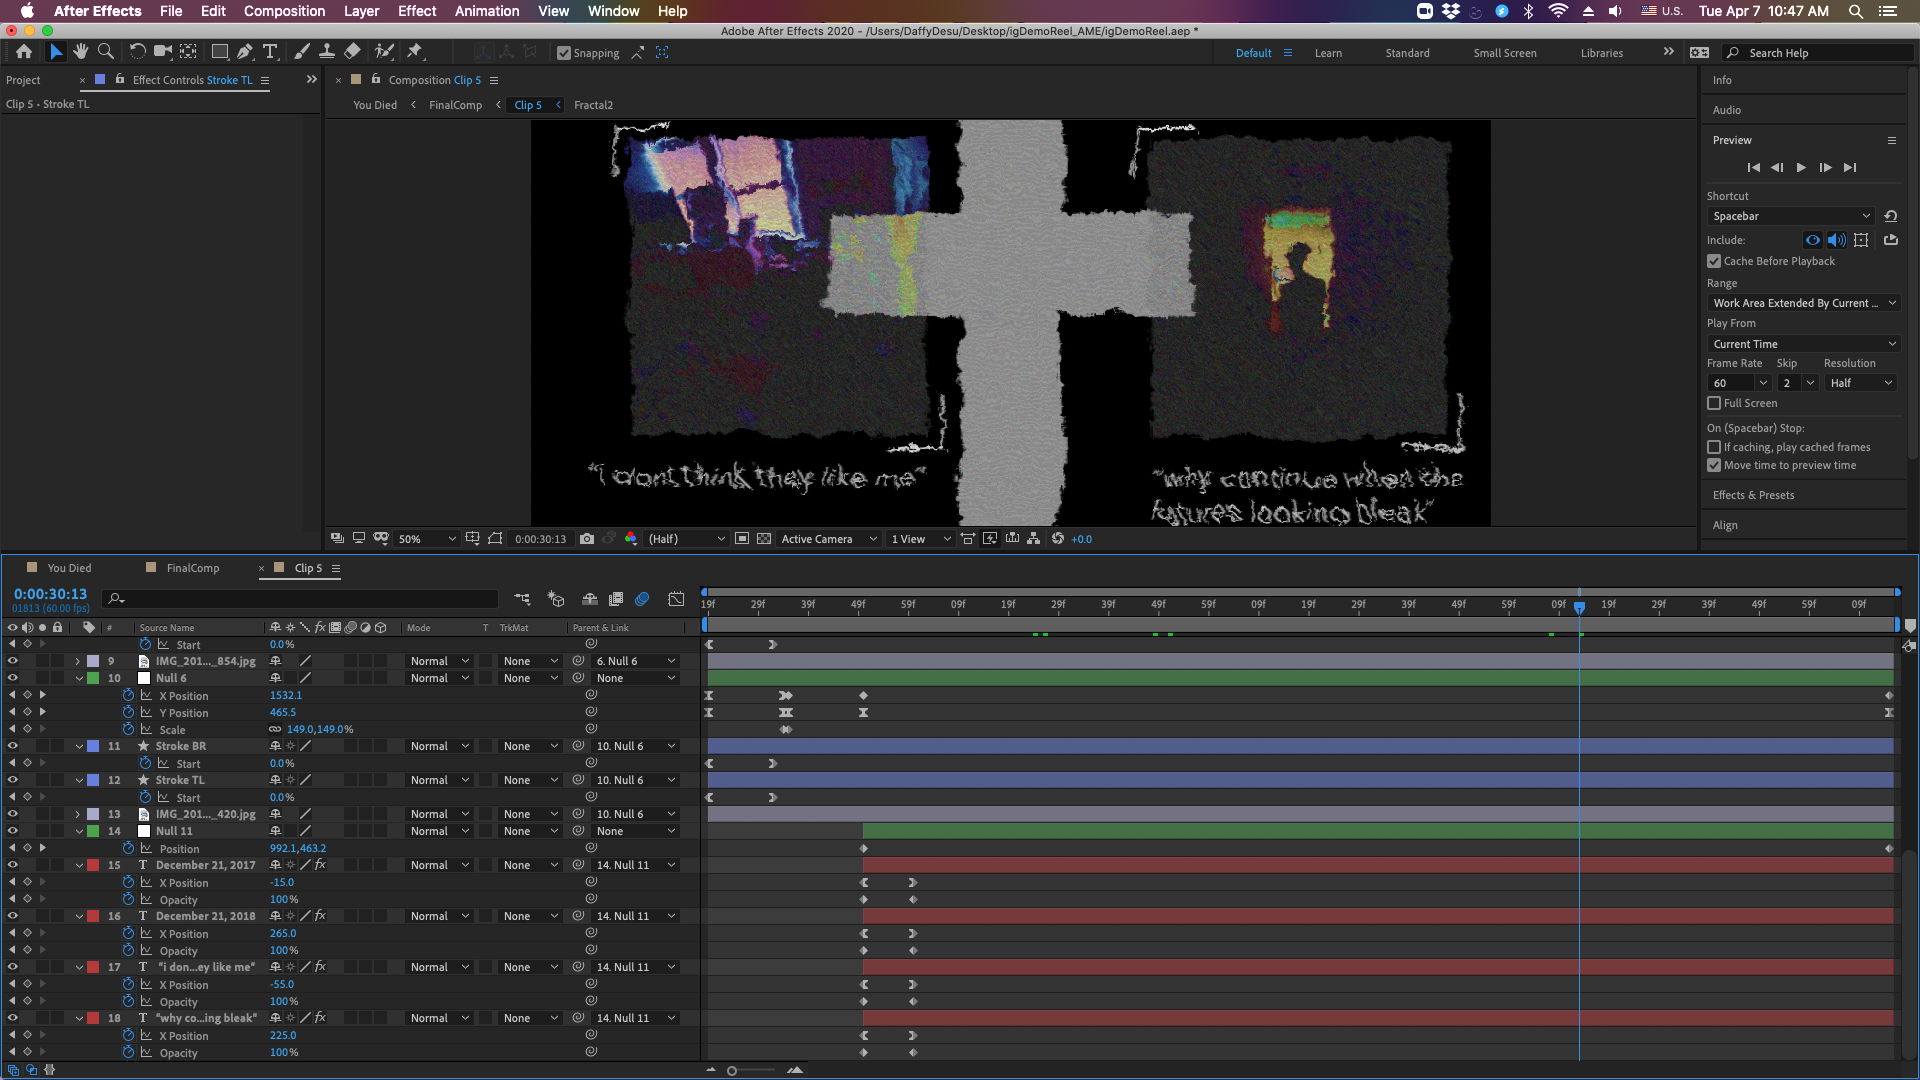
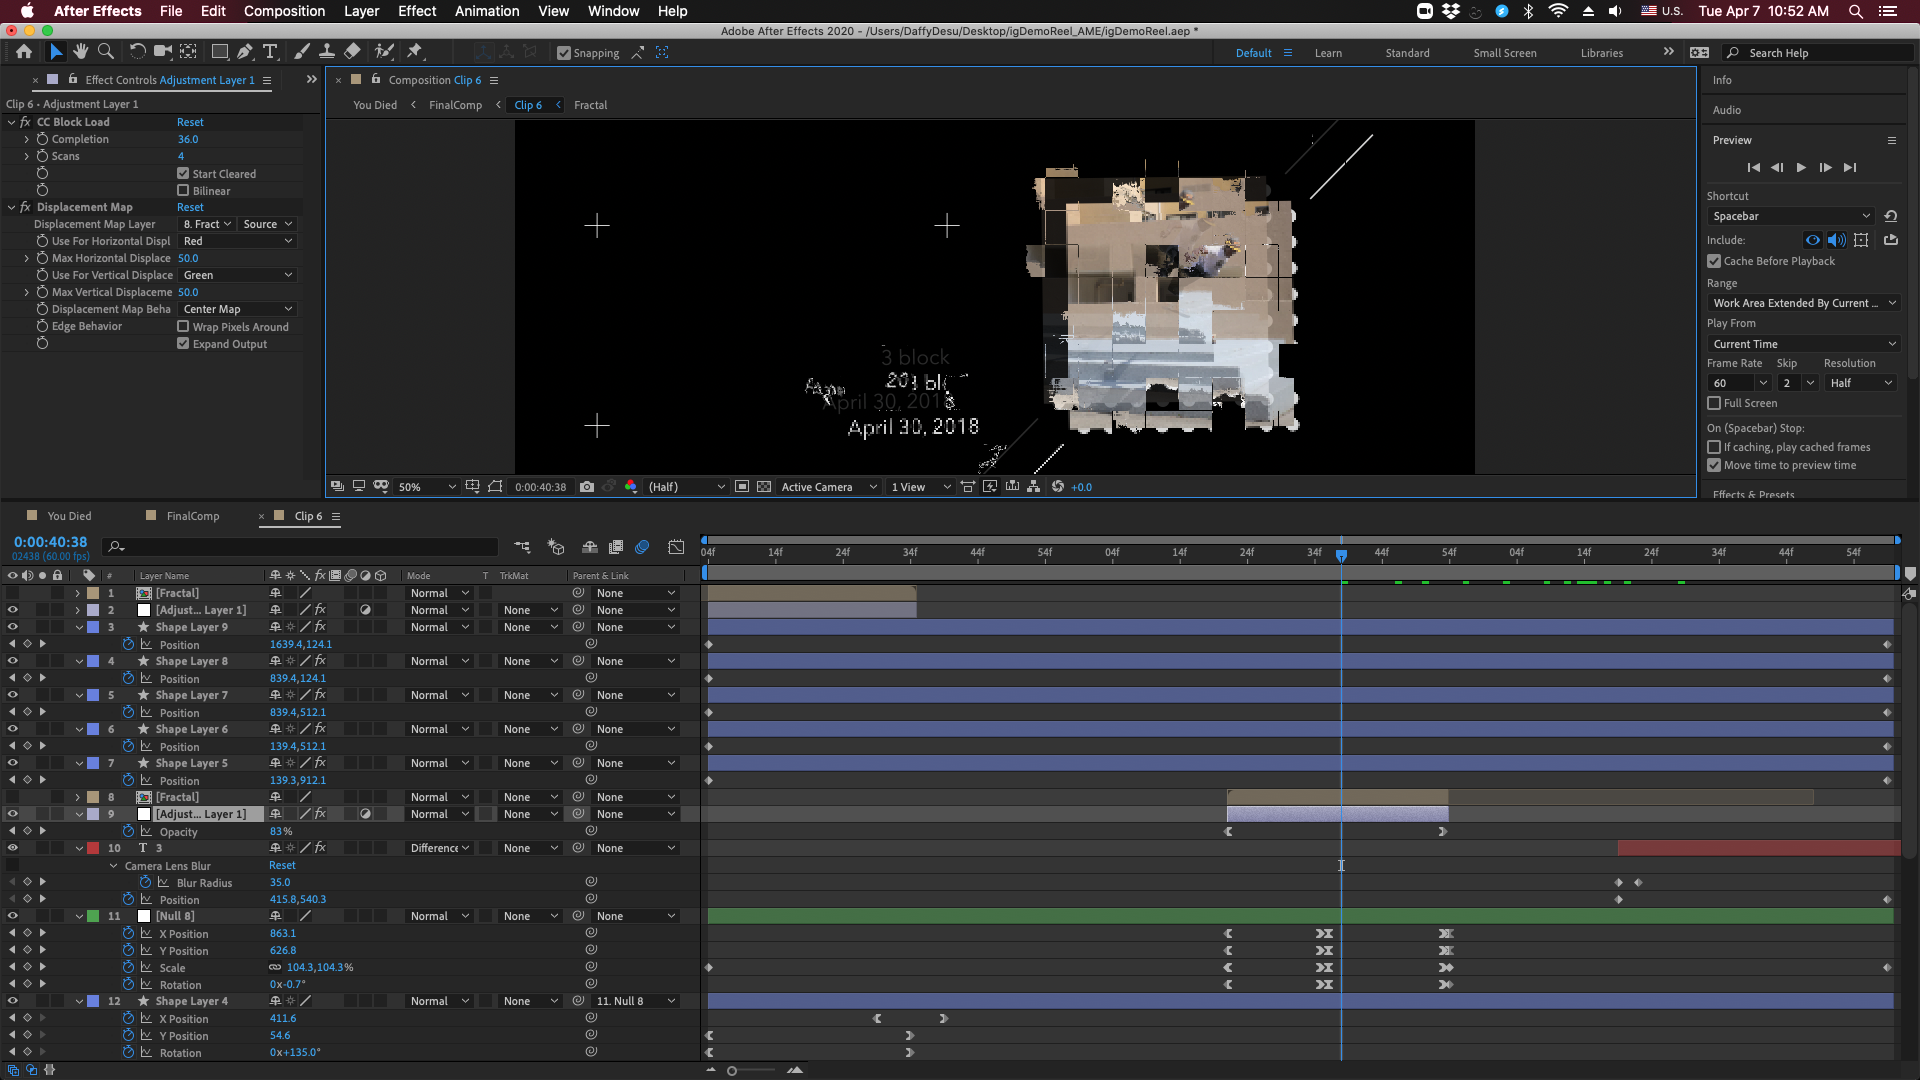
The first effect that is used throughout the whole edit is displacement mapping (This is part of what gives some layers the glitch look). I first created a composition with a solid and added the effect "Fractal Noise". I then let it evolve over time. This can be done by simply alt clicking the stopwatch next to the parameter Evolution, then adding the expression: time * 125; (Or you could just use keyframes). I added my image or text that I wanted to map and pre-composed the fractal. I added the "Displacement Map" effect to the clip, used the fractal comp as the source, and used the Max values for changing the distortion in the img. There are also a few times where the object doesn't glich but moves as such; i,e. the text positioning or flickering.


Keyframe Assistant
The Keyframe Assistant is another way to map using audio. Right clicking an audio file will bring up a dropdown and one of the things that you can select is the Keyframe Assistant > Convert audio to keyframes. In doing this, You will get a layer called Audio Amplitude. This is basically a map of the ups and downs of a song (specifically, its amplitude). In its effects, there are three channels, I delete the left and right because the main one I use is "both channels." For the flicker, I created a white solid and opened to its opacity parameter under the transform property. I then dragged the "property pick whip" (the squiggly thing to the right of the opacity parameter) to the slider of the both channels in the Audio amplitude layer. To lessen or strengthen the amount of opacity, after the code in opacity, subtract or add a number (...("Slider") - 50;).

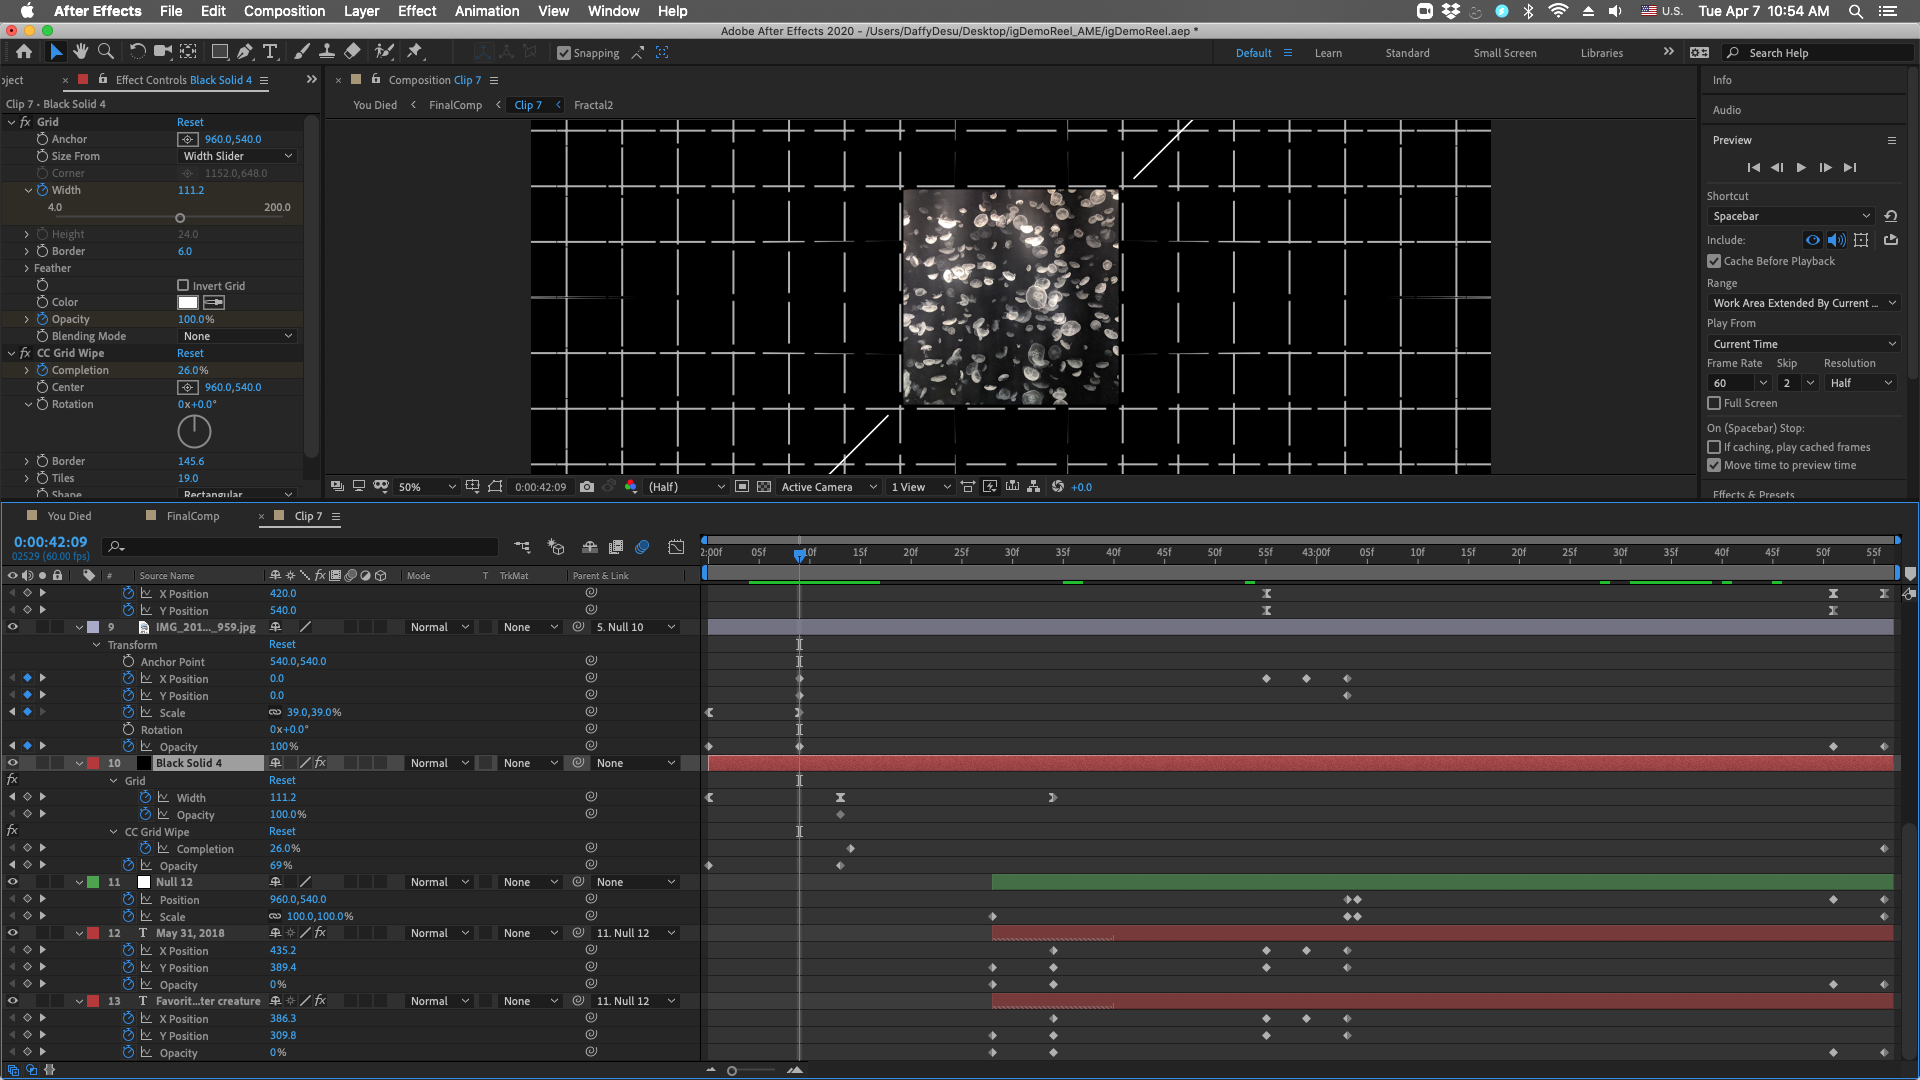
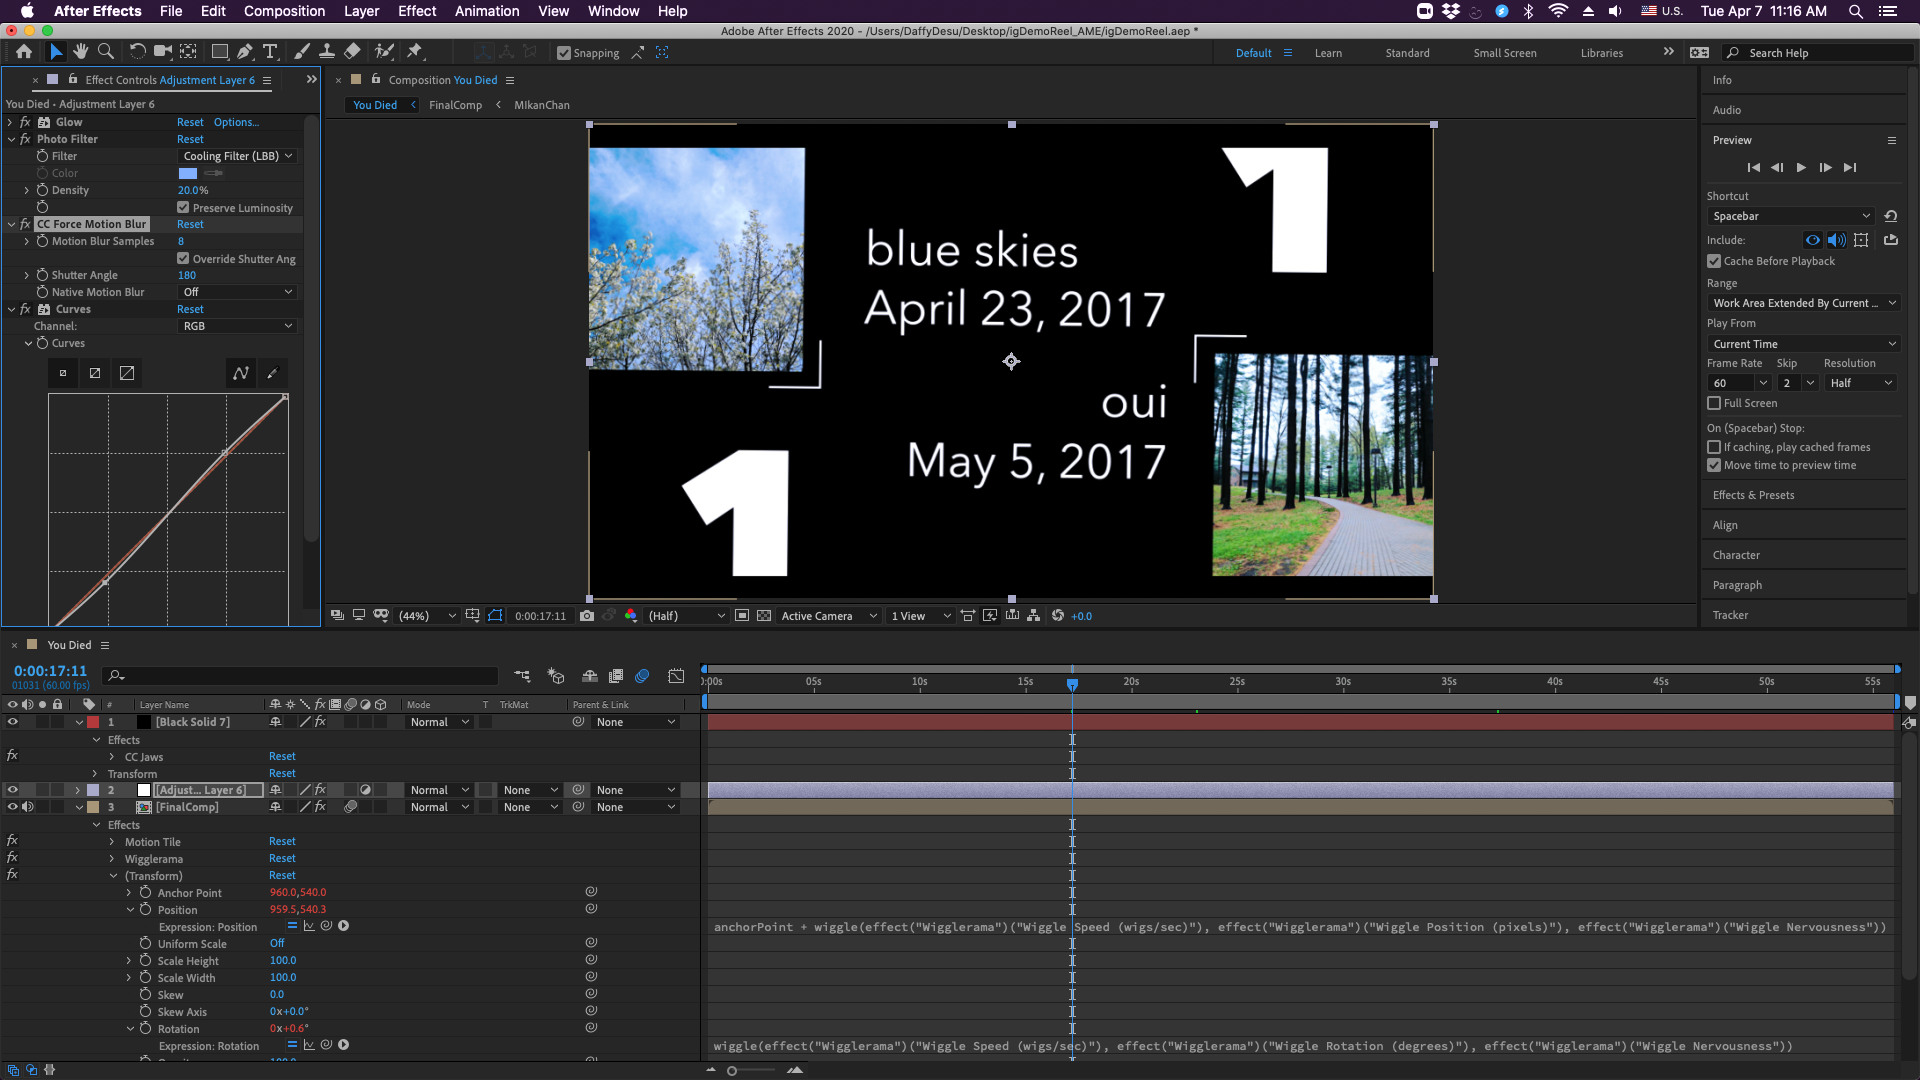
Other Effects
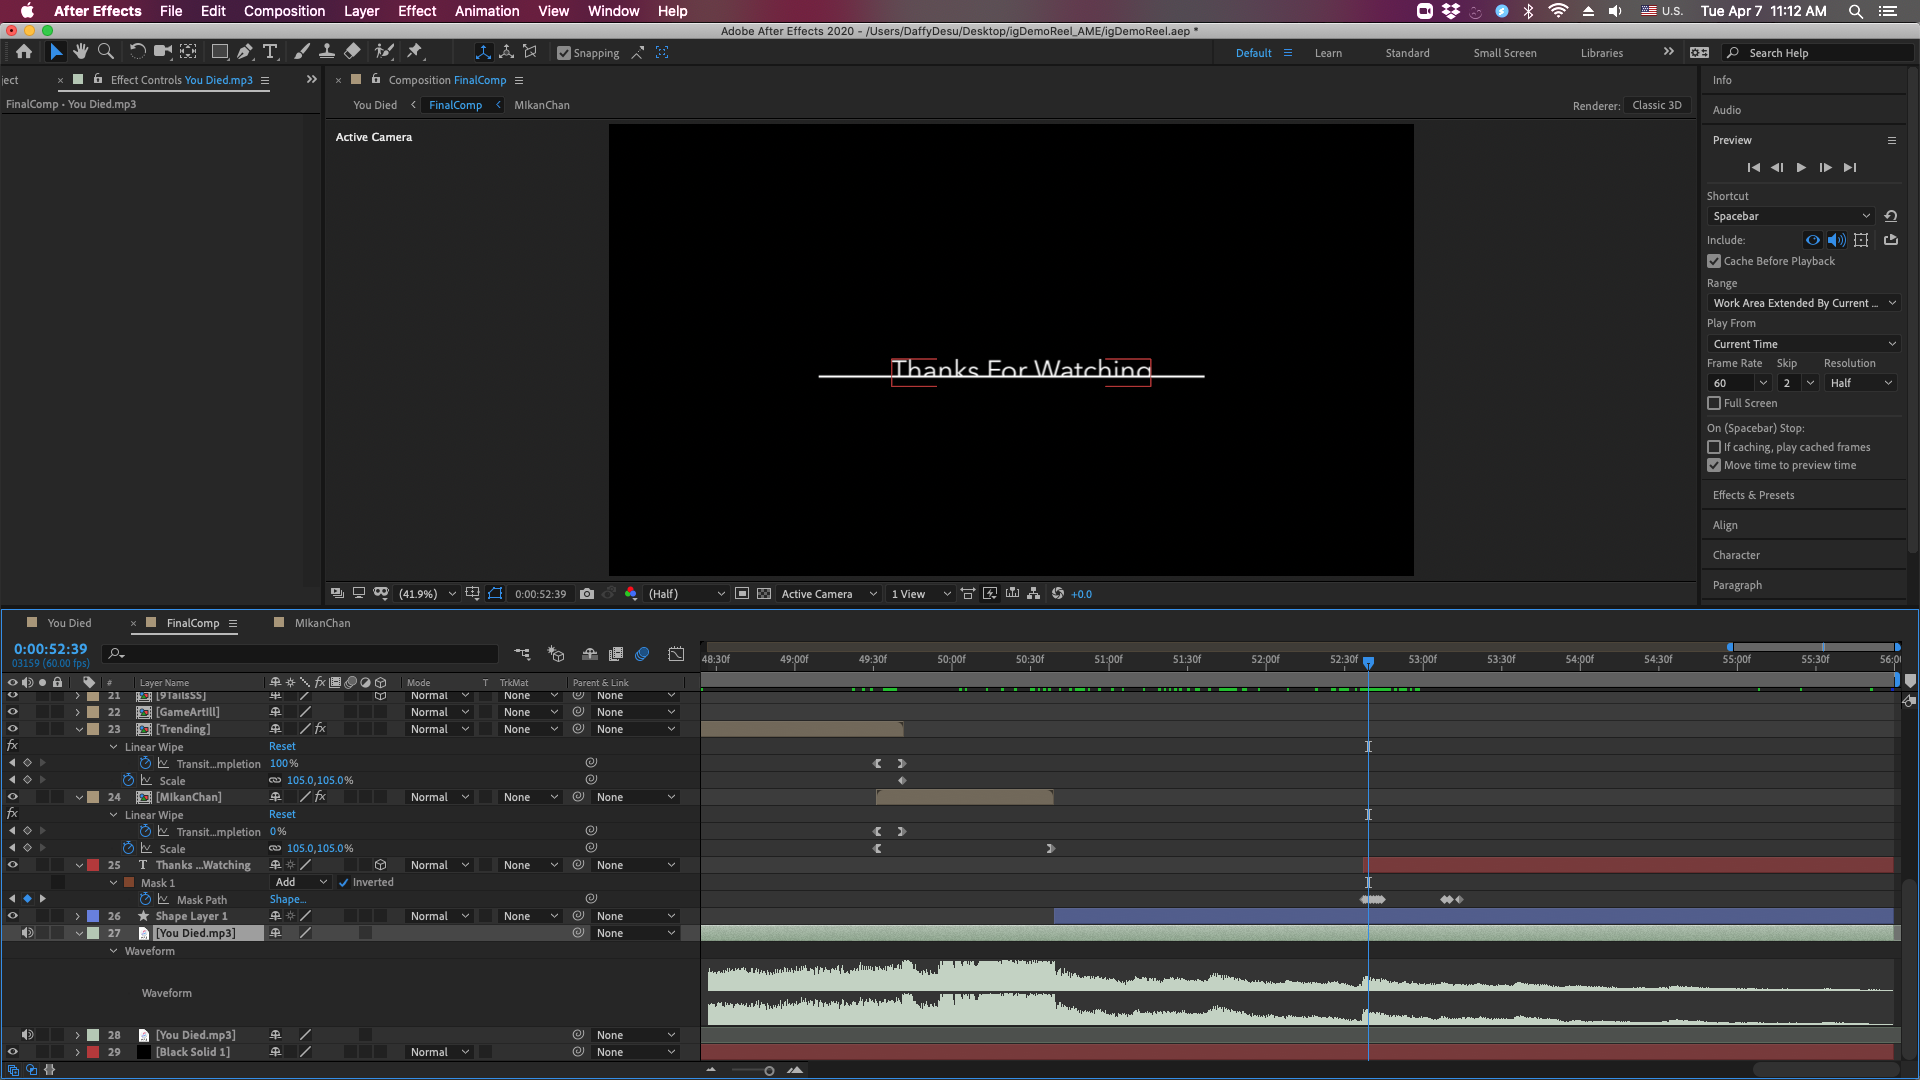
Trim Paths, Repeaters, Mode Blending, 3D layers, CC Jaws, Tracking, Box Blur, Camera Blur, Color Balance, Tint, Noise, Venetian Blinds, Motion Tile, Directional Blur, Wave Warp, Grid, CC Grid Wipe, and Linear Wipe are all the text animators, effects, and transitions I used. And, of course, the whole video uses at least one of transform properties and a lot of keyframes with some easing. (The graph editor is my go to for almost all of my easing.) For layers that I wanted to move with the song, I used the audio amplitude keyframes. PS: For the "HAHAHA" part, I converted the HA text to a shape, rotated it, and animated it with the repeater. Similarily, I could also do this the CC RepeTile effect which I forgot about until afterwards.